THE TOP 3 WAYS WE LIKE TO PRESERVE OUR SUMMER HERBS TO USE ALL YEAR LONG!
The days are getting shorter and the temps are cooling, it’s time to think about harvesting those delicate herbs you have outside. If you don’t have a way to keep them going inside, here are a few ways to keep enjoying the fruits of your herbal labor all year long.
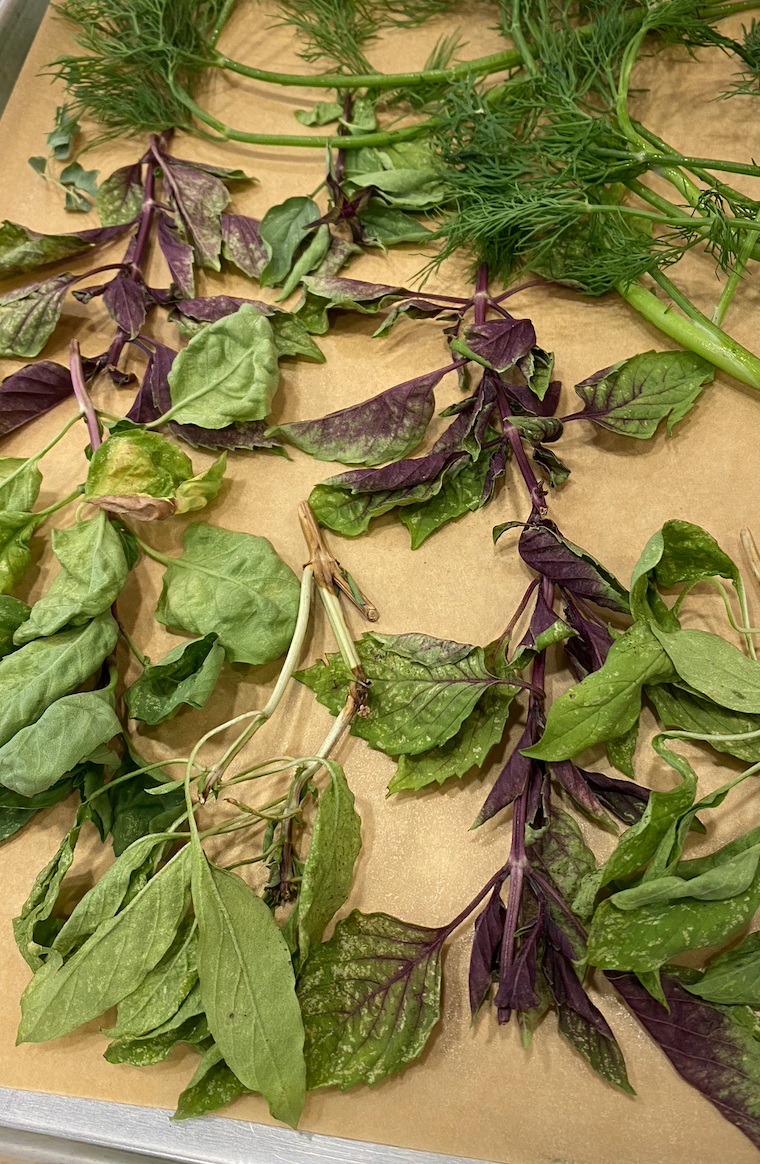
Dry them and make your own blends! Twine tied and hung herbs always look so pretty in pictures, but mine are anything but Insta-worthy, so I prefer to harvest and give them a jump start on drying out. Take a free day (haha! what is THAT?!) and dig up all those little beauties. Check them for tiny critters, give the plants a little bath if need be and dry well. Next line a baking sheet with parchment paper and bake at 170º for 90 minutes. If they crumble when rubbed between your fingers, you’re good!
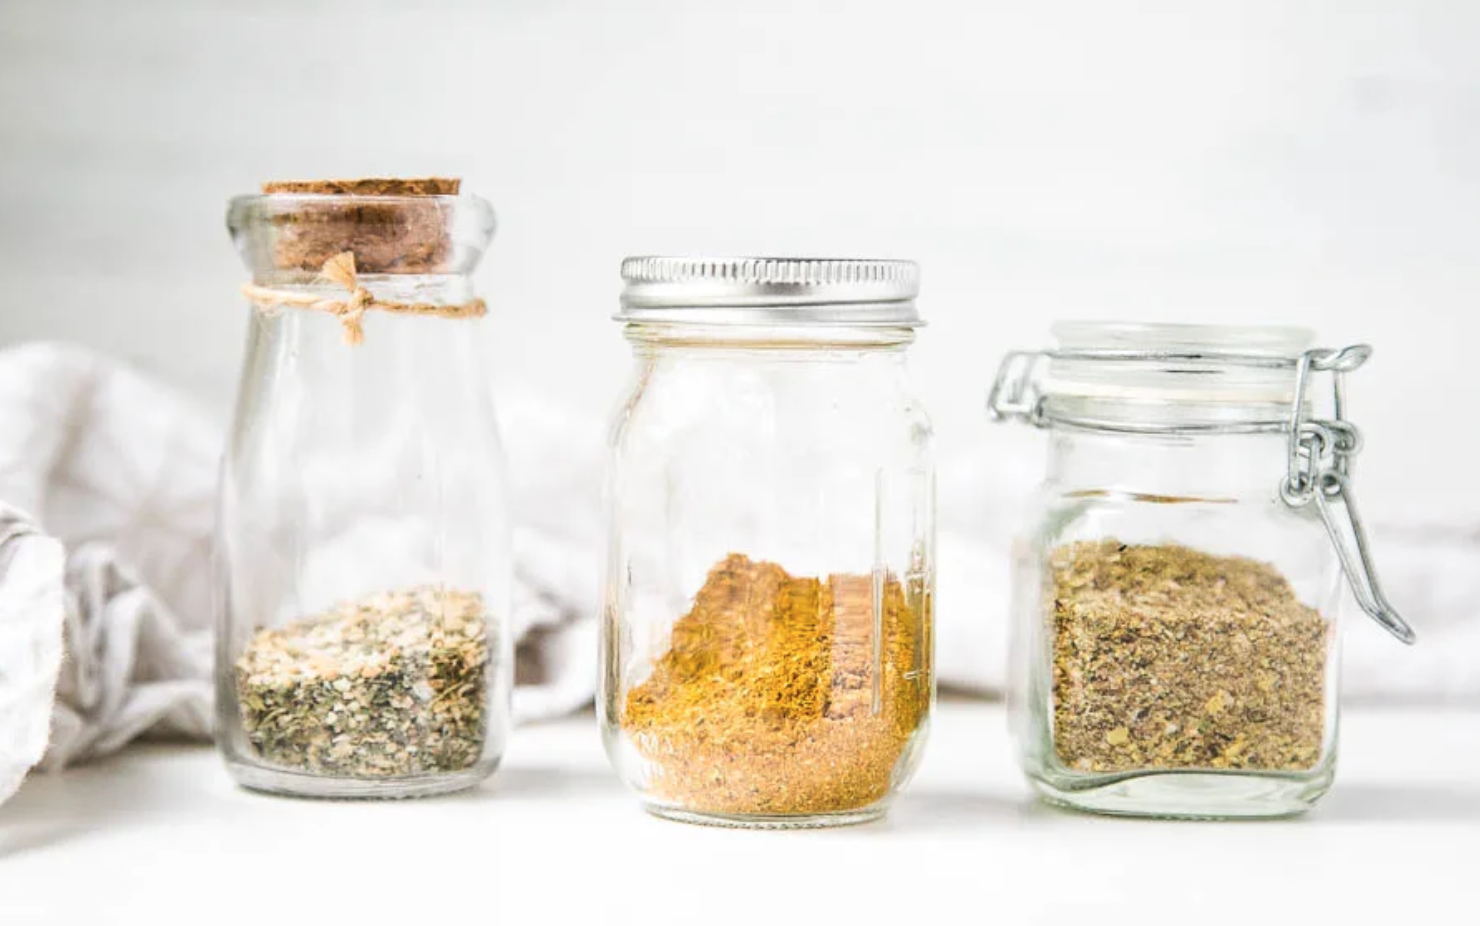
I like to marry a couple of empty-ish spice bottles, wash them well and take off the label. Then, by adding several different herbs to one bottle, I have created my own personal blend. Keep a couple for yourself and put more away and use them as gifts - they make great stocking stuffers!
Dried and crushed herbs concentrates their flavor, making them more potent than fresh herbs. Fresh herbs have a higher water content, so they're not as strong.
“...despite the loss of certain nutrients, the ORAC value of equivalent amounts of dried and fresh basil is actually about the same, which suggest that both are a significant source of antioxidants.”
2. Freeze them! Both delicate and hearty herbs can be frozen in a liquid, and hearty herbs can be frozen as-is on their stems. Either way, once defrosted, they will be limp, but still offer the same great flavor as just picked!
For liquid freezing, you’ve probably heard of people using olive oil in ice cube trays and I do something similar, except I use vegetable broth. Simply harvest your herbs, critter check, wash if necessary, remove stems and mince them up. If you have a lot and don’t particularly enjoy chopping, place the herbs in a food processor and pulse until you reach the desired consistency. Place a teaspoon or so in each cube and enough broth to cover the herbs. Just as we did for the dried herbs, you can also make custom blends in your cubes. The broth simply adds more flavor to your recipe - and why not?! When frozen, pop the cubes out and ad to a freezer bag. Mark and date them as they will be good for a year.
For heartier herbs, (rosemary, mint, lemon balm, fennel, oregano, sage, tarragon), there’s even less work to be done. Harvest your herbs, critter check and wash. Dry well and place in a freezer bag. Date the bag as frozen herbs are good for about a year, and that’s it!
3. Spice up your pesto! I have found that the most common herb grown is basil. With over 15 types of basil, you can really make some interesting variations! Here’s a great recipe that I love, simply use any basil type you have growing in your garden.
You can use those ice cube trays again to freeze small batches of pesto as this is SO great popped into a simmering marinara! Or, just thaw a few cubes and smother it on a veg burger or use in a wrap - ahhhh! the flavor of summer brightening a cold winter’s day.
🌿 🌿 Do you know about our STREAMING PLUS membership?
Our membership is built like a streaming service - you get a full library of plant-based cooking classes to watch whenever you want. PLUS, you gain access to upcoming interactive virtual cooking classes and a monthly accountability group call.
As a member you get:
Complete library of all past virtual classes - stream them whenever you’d like!
Free access to upcoming virtual classes
Library of easy and quick recipes: 100 and growing
Access to private Facebook group
Monthly accountability check-in and support group Zoom call with Caryn
Quarterly “Ask the Doc” call with Dr. Jim Loomis, our Medical Director
20% off all virtual multi-week programming
A community of support
To learn more, please visit us here.


